Creating a new account
Step by step instructions to create a Datang.my account

aril
Last Update 5 年前
By creating a Datang.my account, you'll be able to manage a place for attendance record with more features such as temperature record, contactless mode attendance, create a unique form for guests or visitors. Best of all, it's totally free and always will be.
To use Datang.my at your place, simply follow these steps:
- Create Place
- Create Group
- Create Section
- Add Attendees list
- Create Datang Reader Account
To get started, head over to Datang.my and click Login/Register.
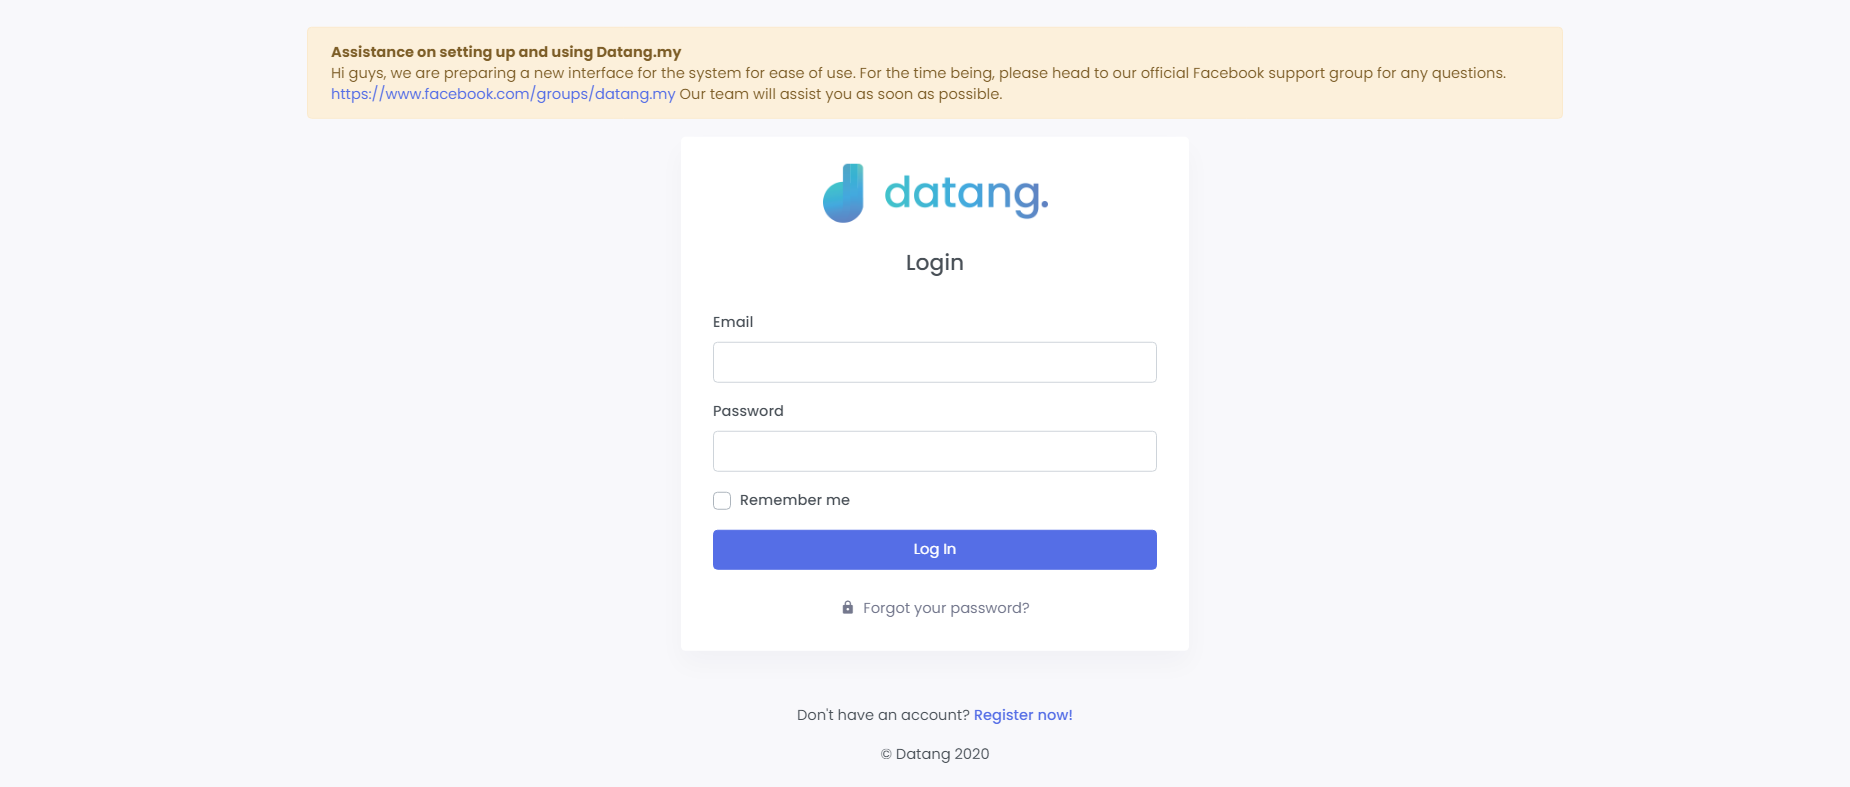

Next, fill out your details to create a new account and click the blue button to complete your registration.
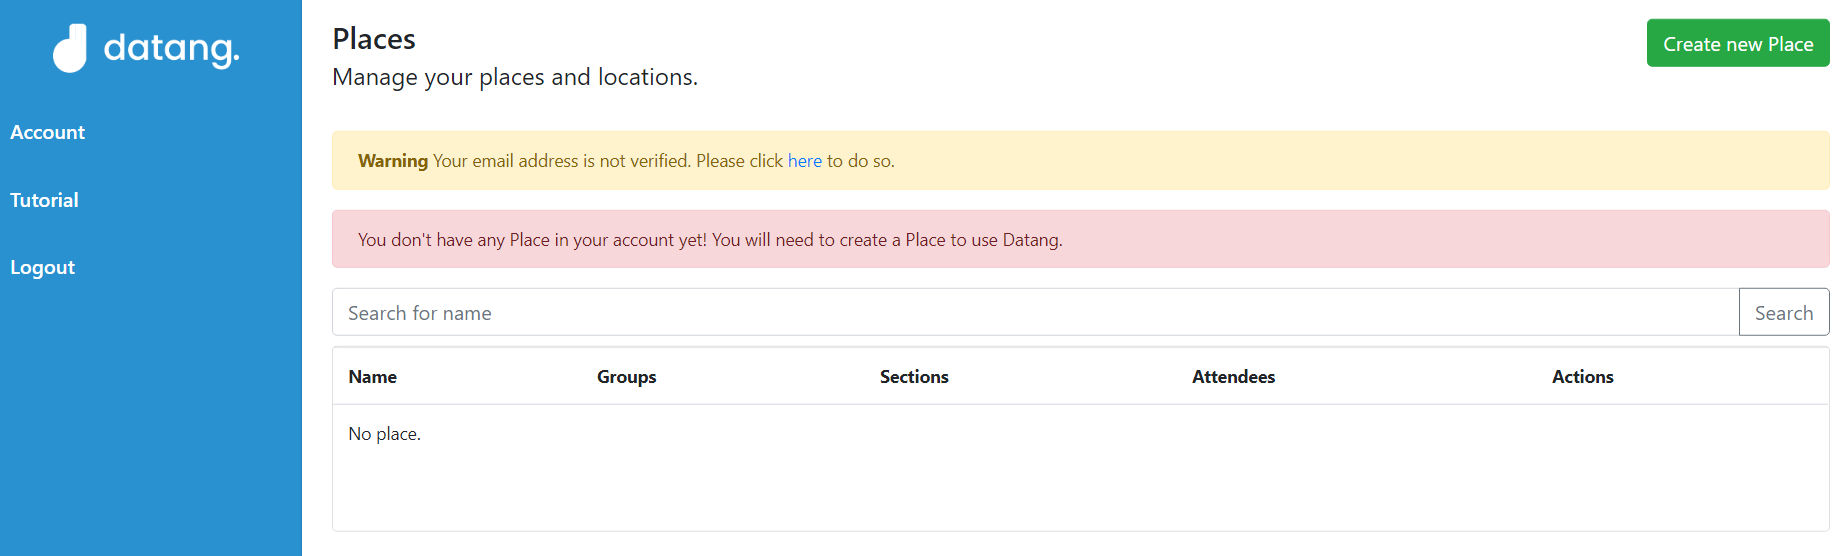
1.Creating Place
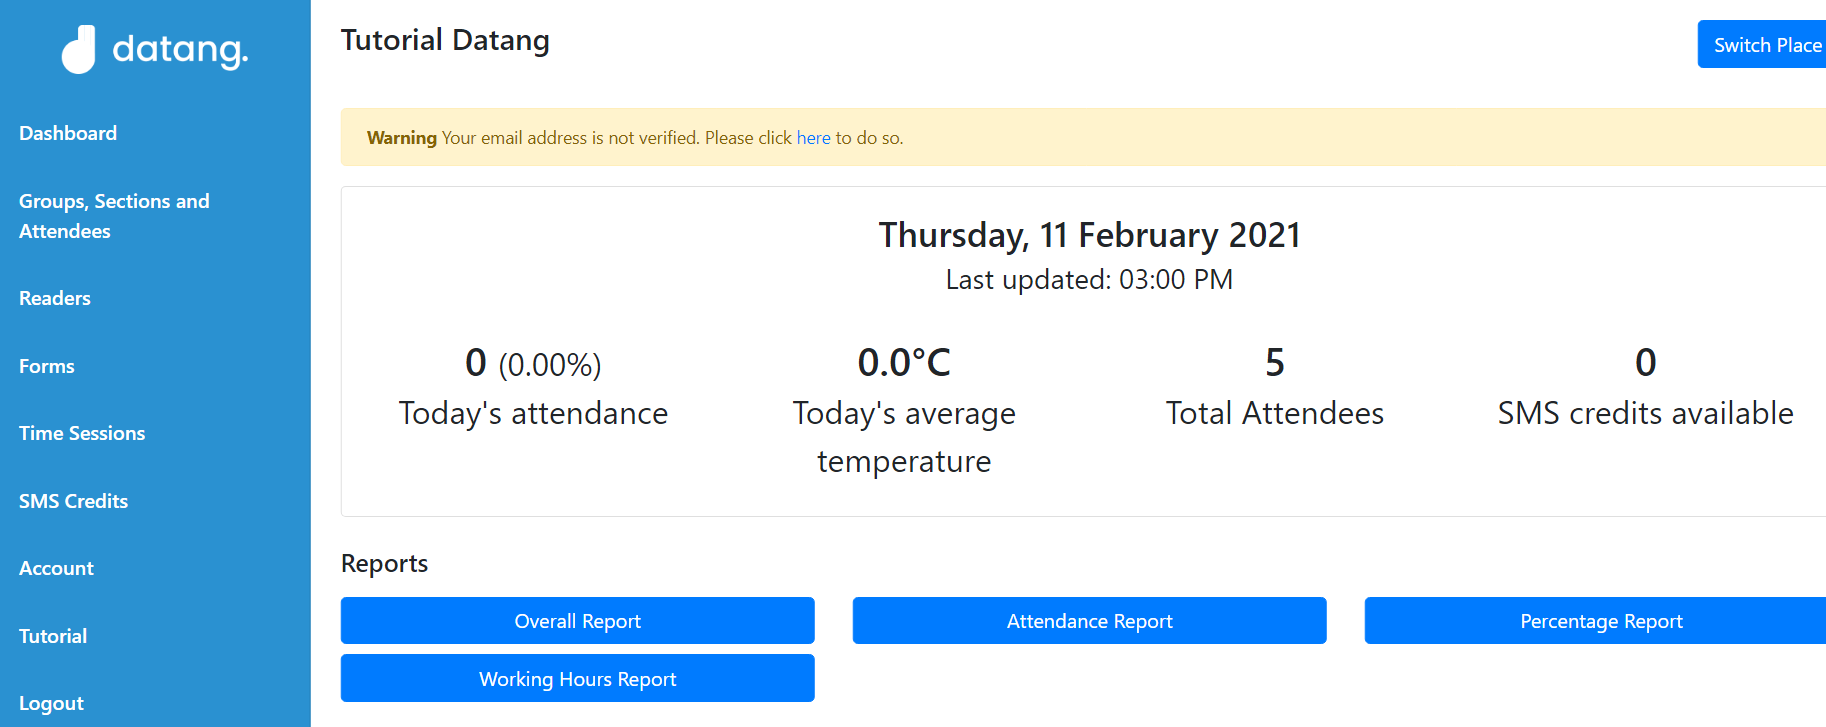
For the next step, you need to create new Place for name your Datang.my account.
To create a new Place, click the green button "Create new Place" on top right corner of your screen.
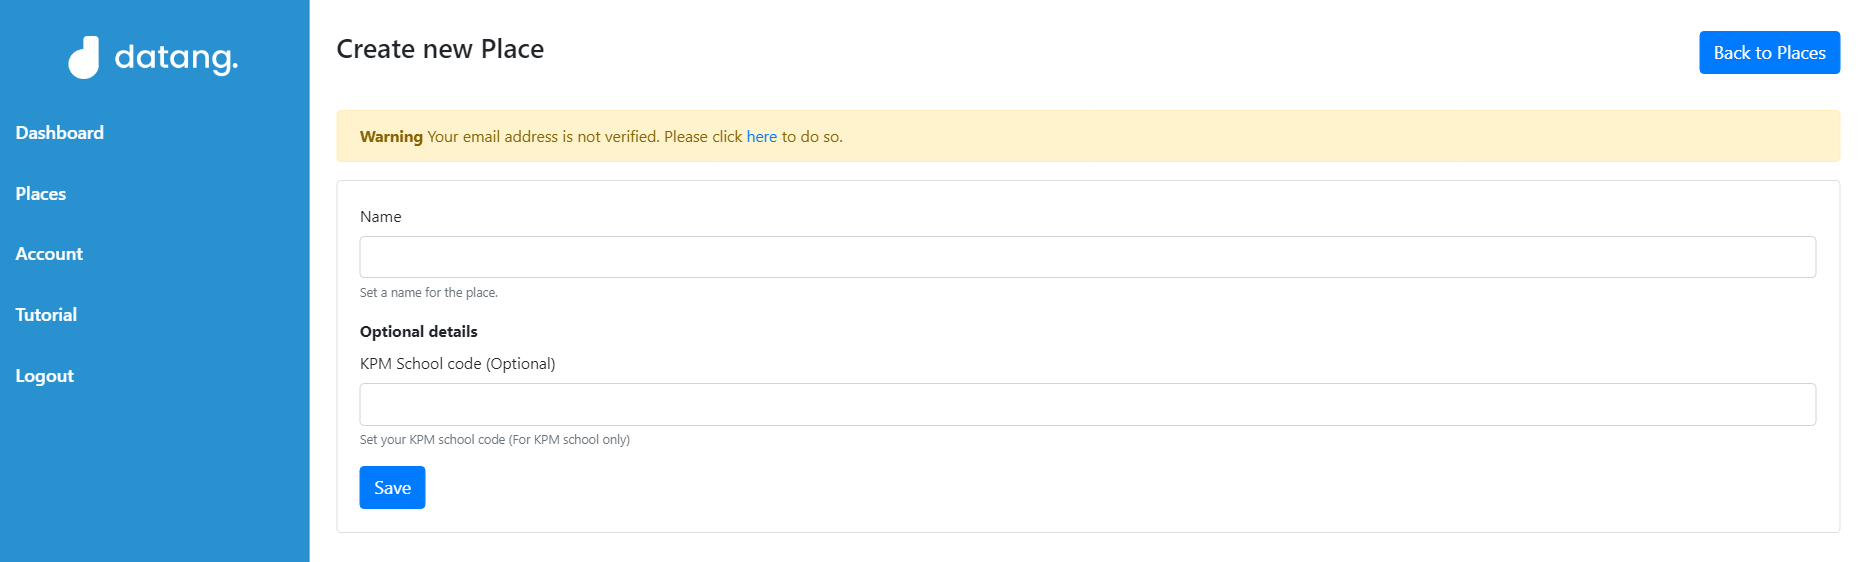
Next, fill out the details and click Save button to create a new Place. There is no limitation for Places in one account, you can create as many Places you want in one account.
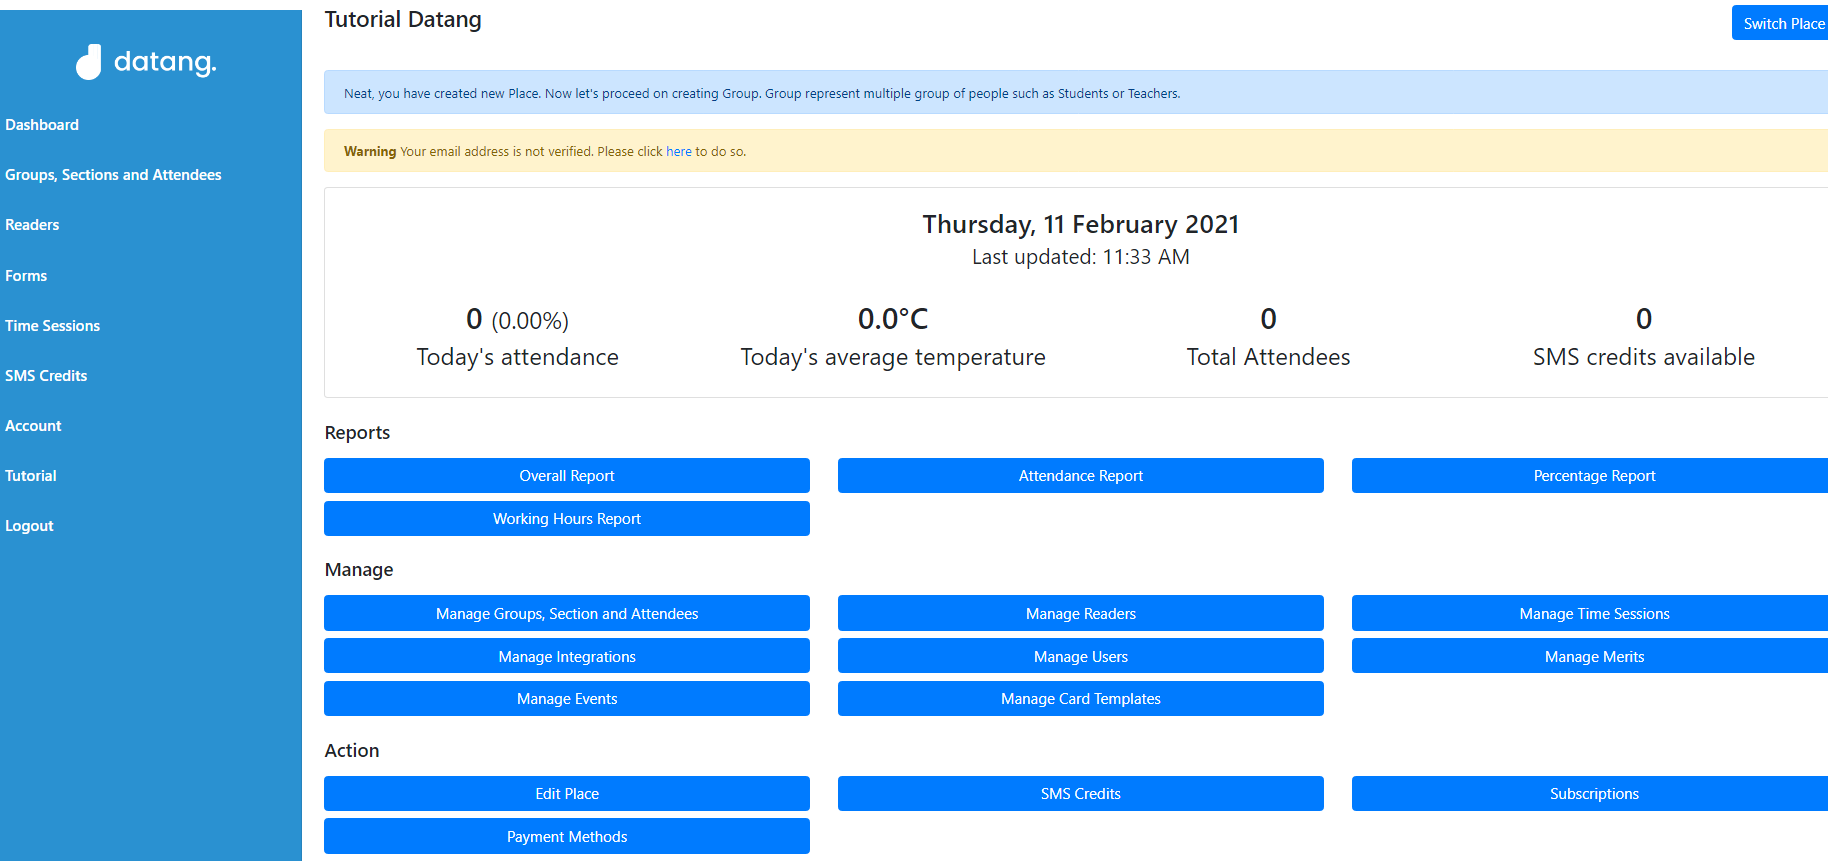
2.Creating Group
Now you have a Place, next step is to create a Group. To create a new Group, click the "Groups, Sections and Attendees" on your left screen.
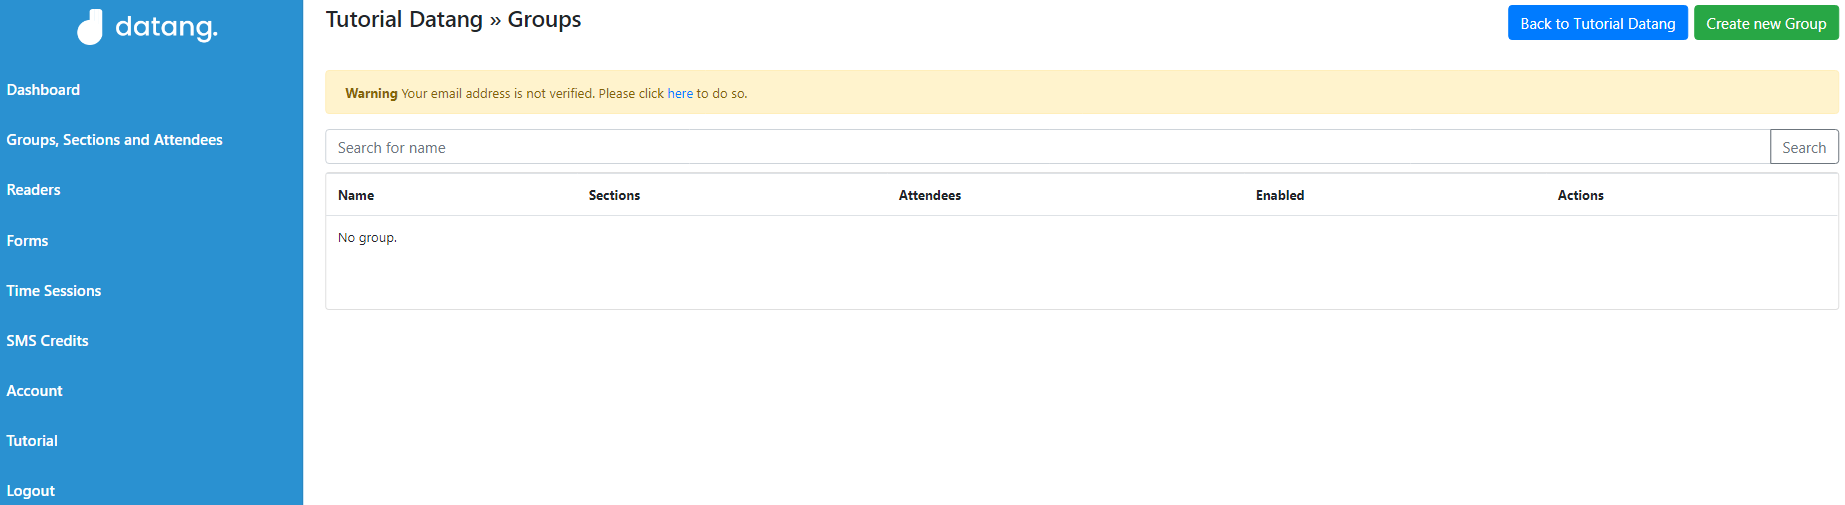
Next, click the green button on your top right corner screen to create new group. You can create lots of Group in one Place.
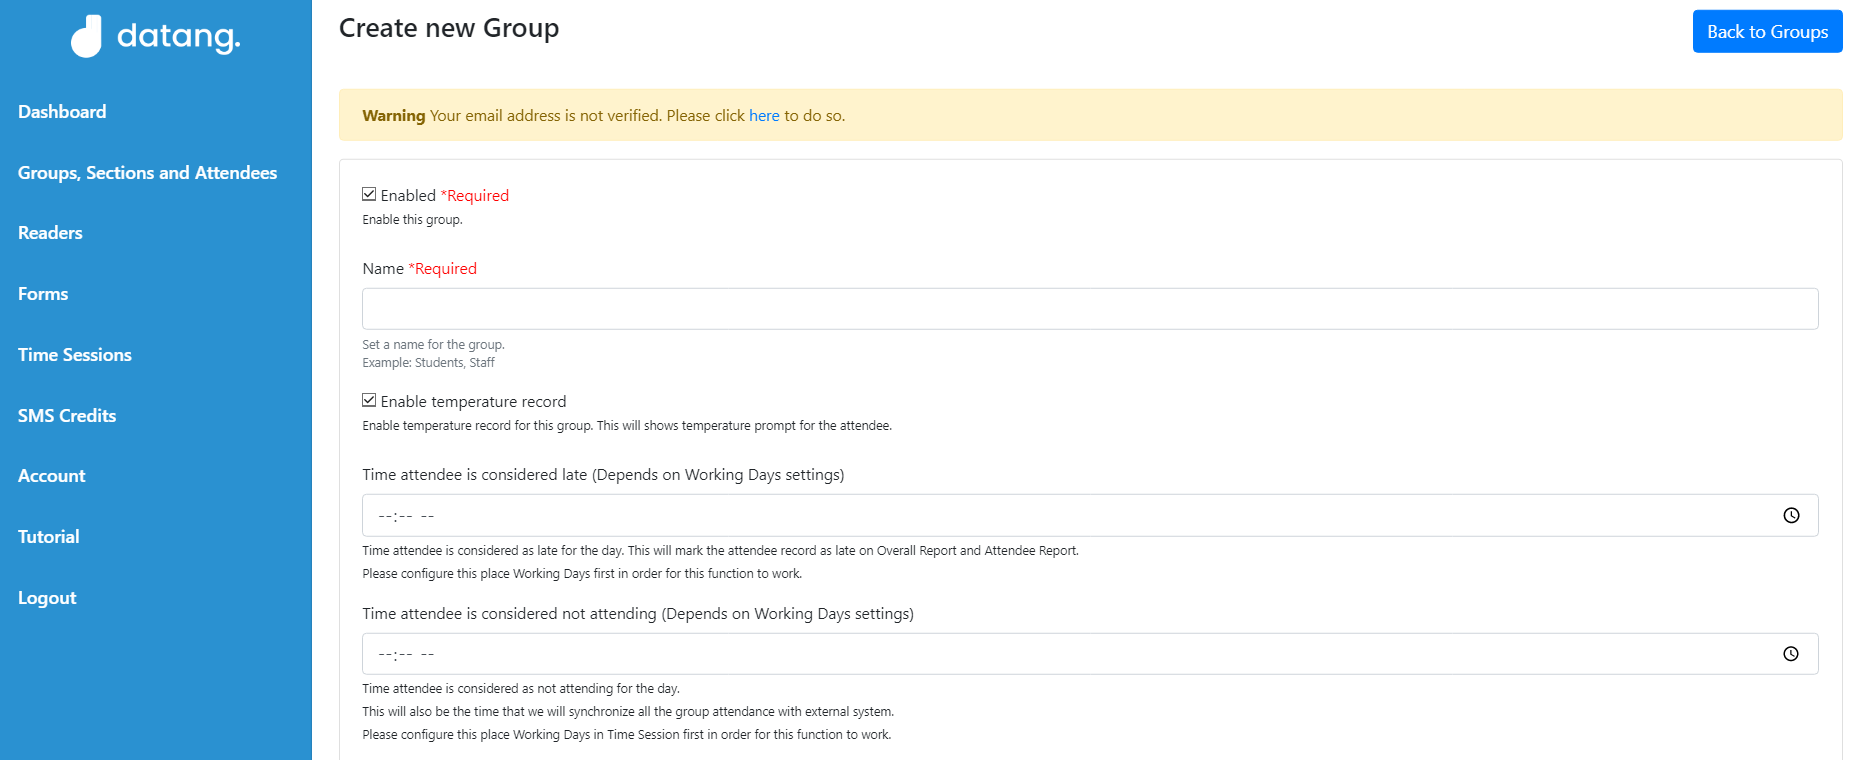
Group is for differentiate the level of attendee group. For example, you need create a Group for Students, Teacher, Admin and Etc.
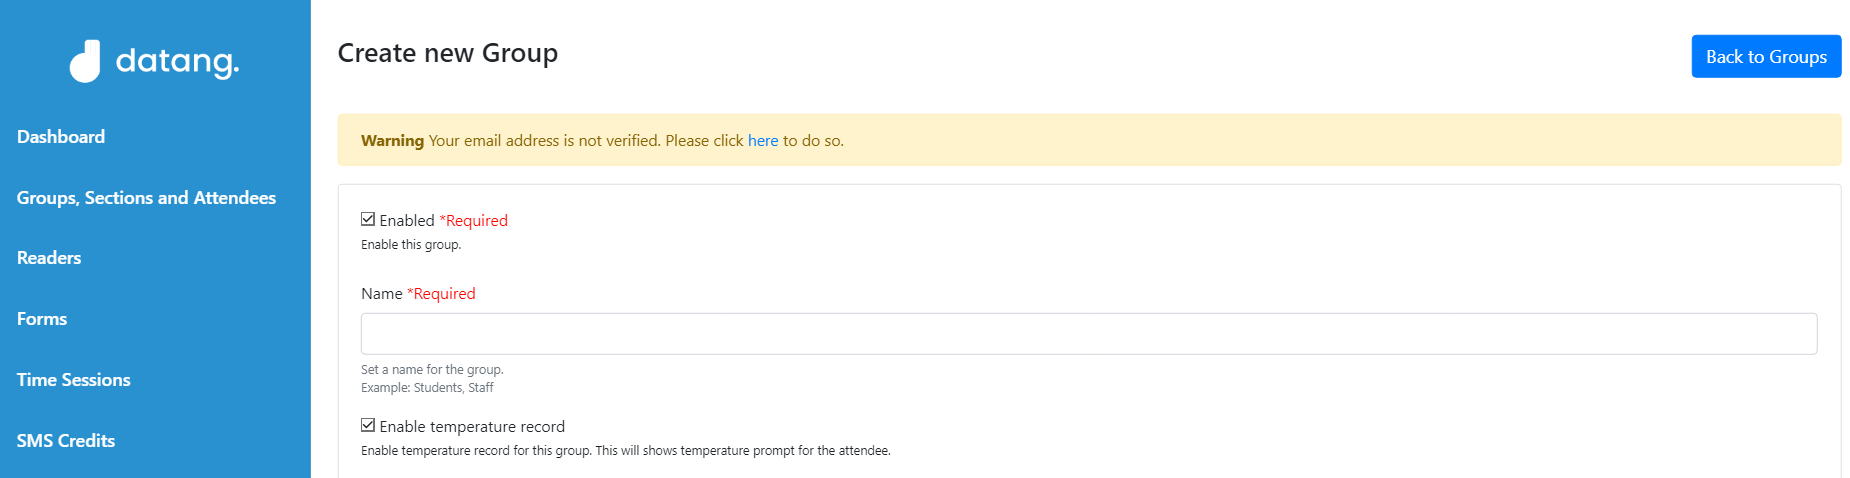
Make sure to tick this two item to enable group and to record temperature. Click "Save" button and your Group is set.
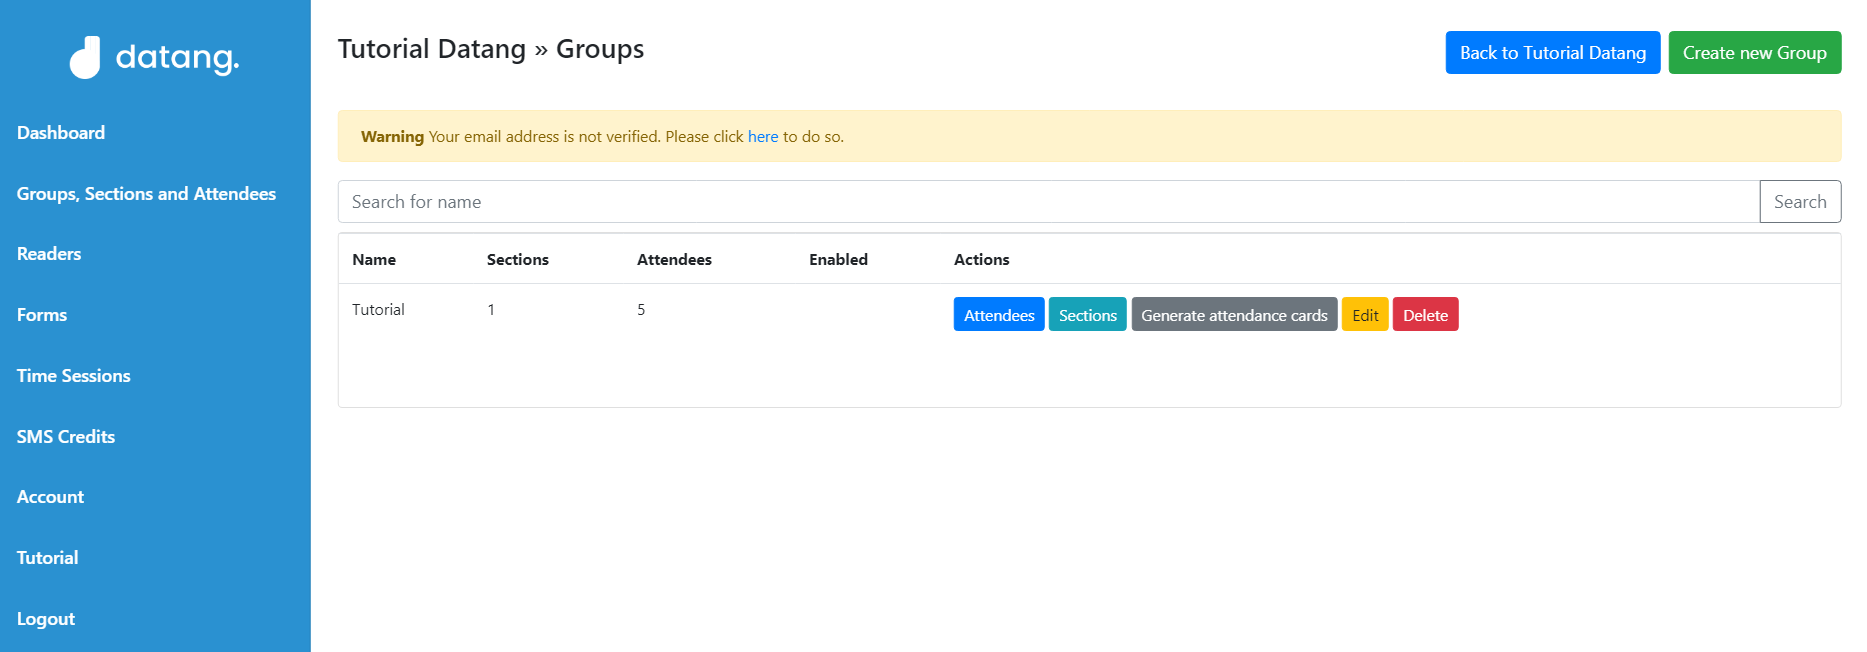
3.Creating Section
Now you have a Group, the next step is to create a Section. To create a new Section, click the Sections button on your Group.
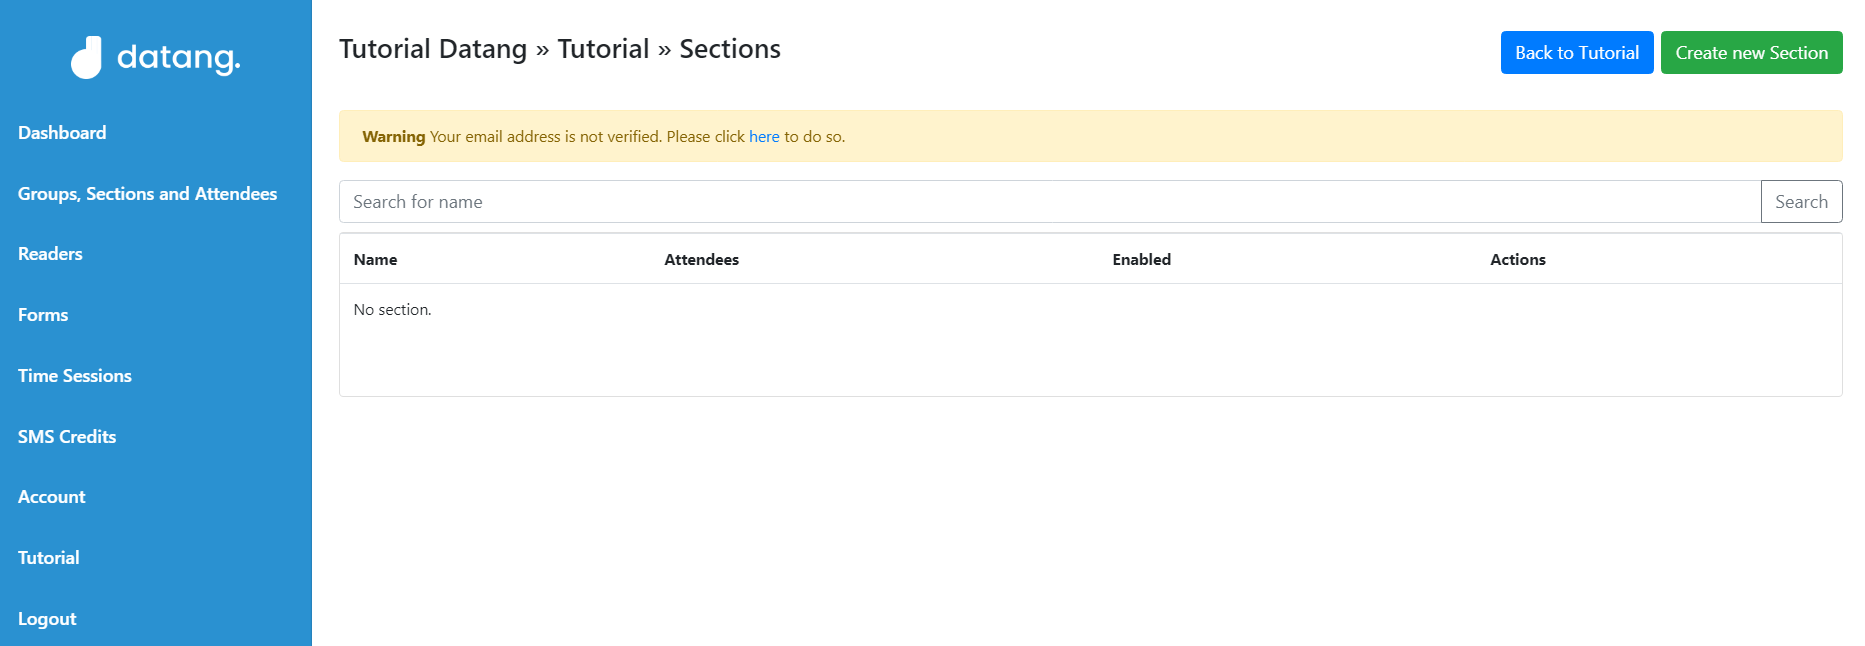
Next, click the green button on your top right screen to create a new Section.
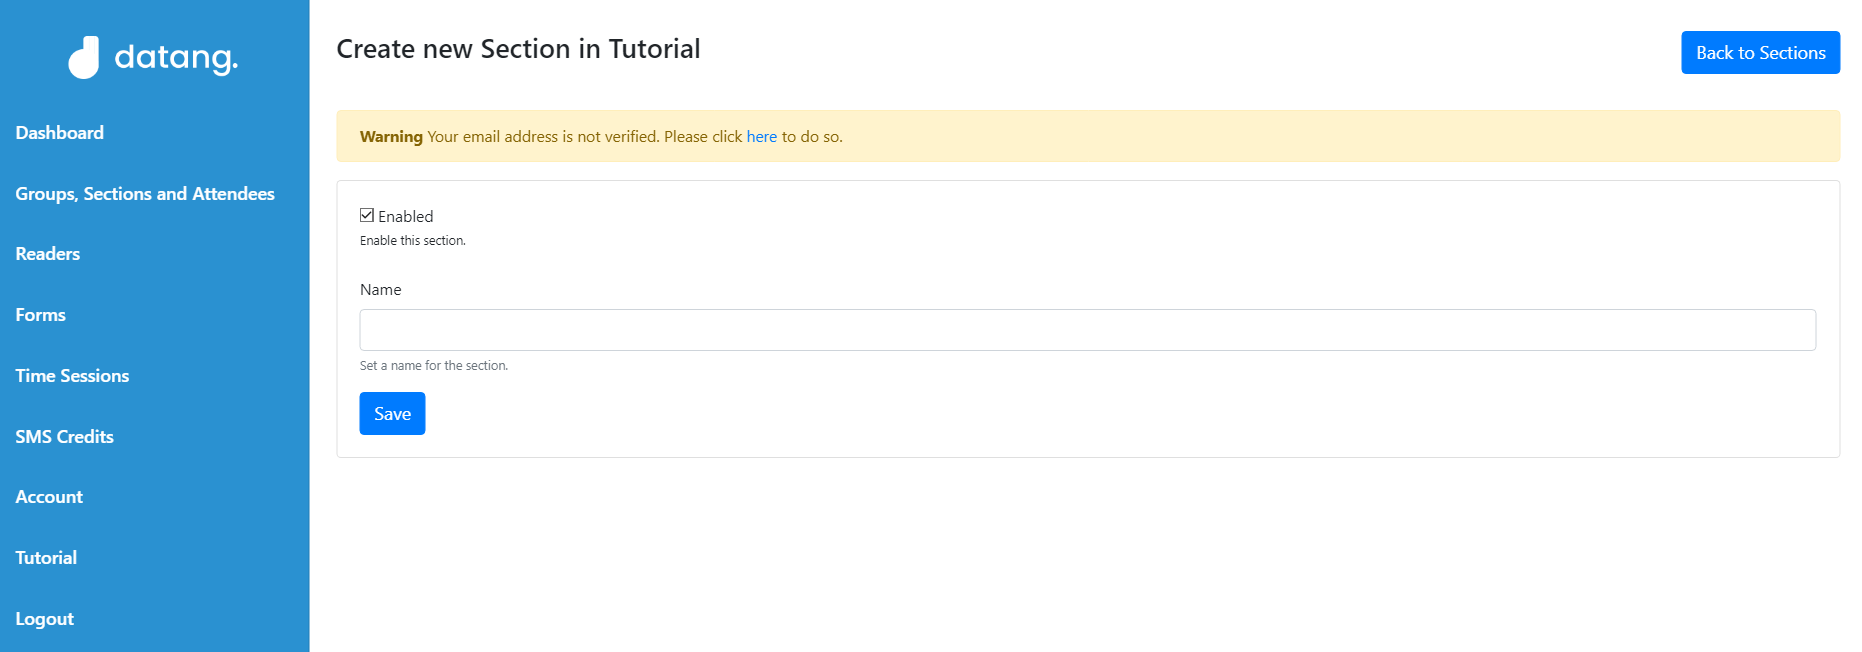
Section is for differentiate the class level between attendees. Click the Save button to create a new Section
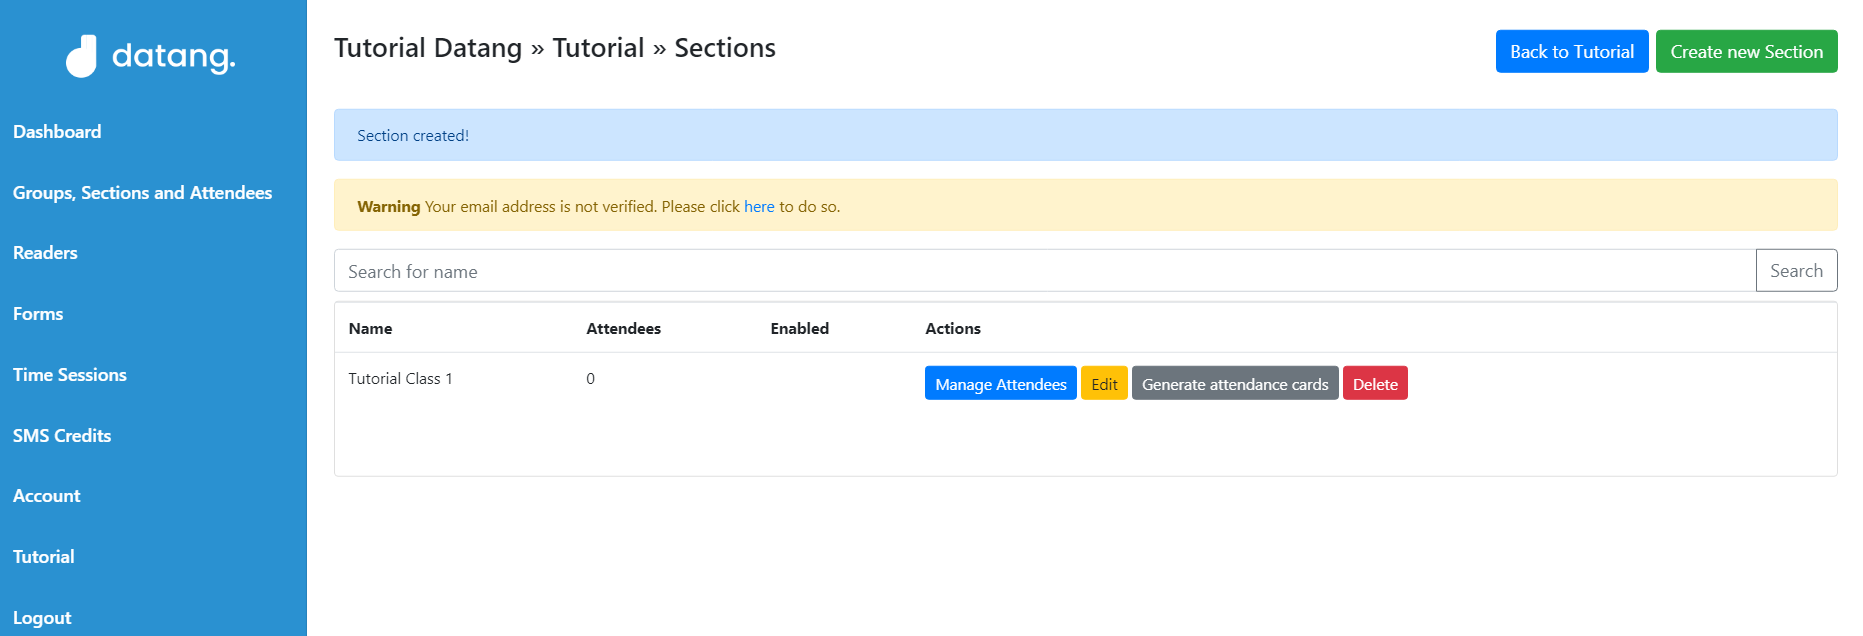
4.Adding Attendees lists
Now that your Section is created, you can add new attendees by click Manage Attendees button.
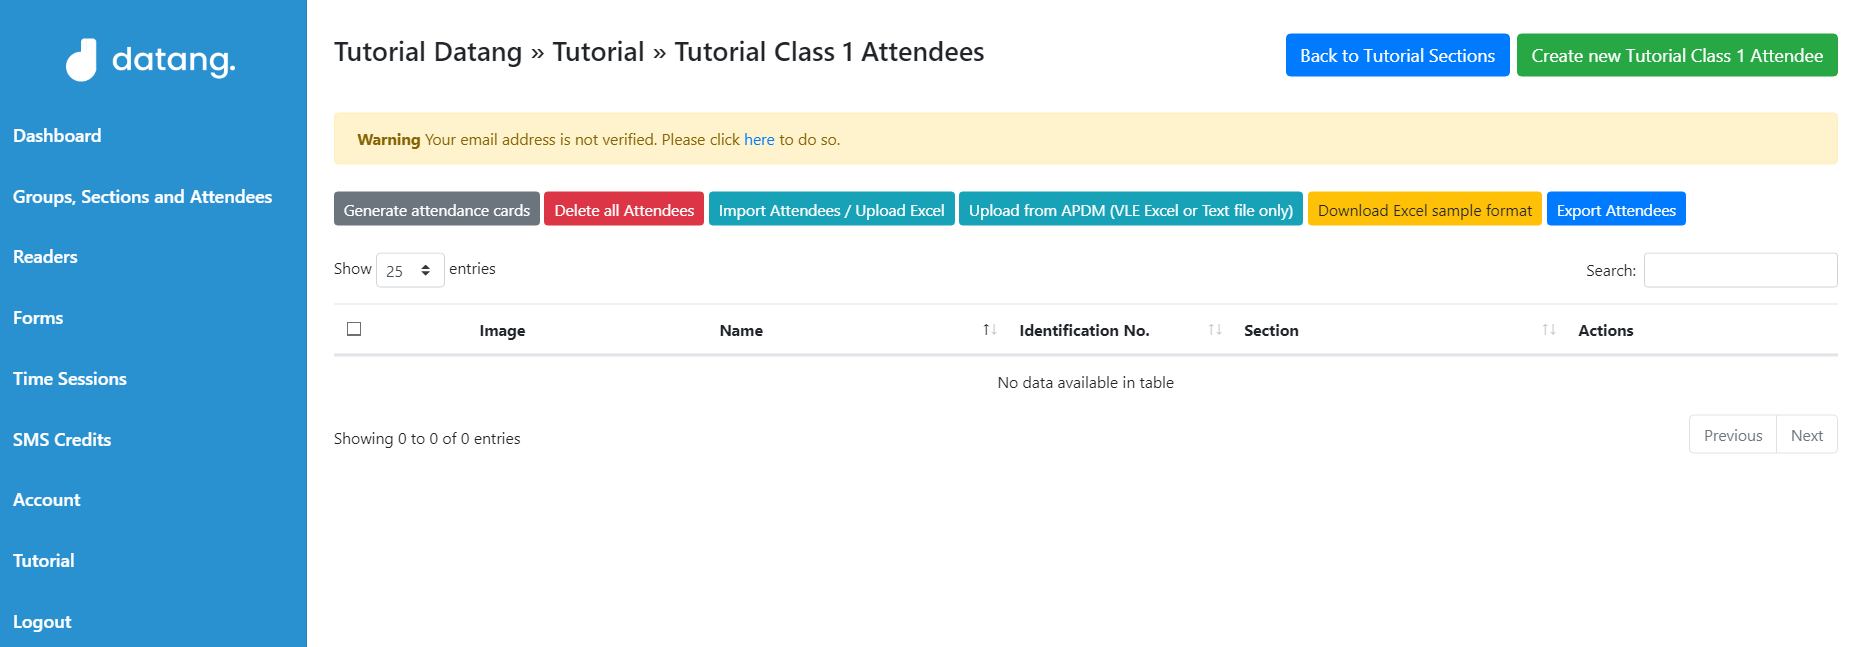
To add new attendees, you need to upload Excel file by following the format required.
Click the "Download Excel sample format" button to view sample Excel with format required.
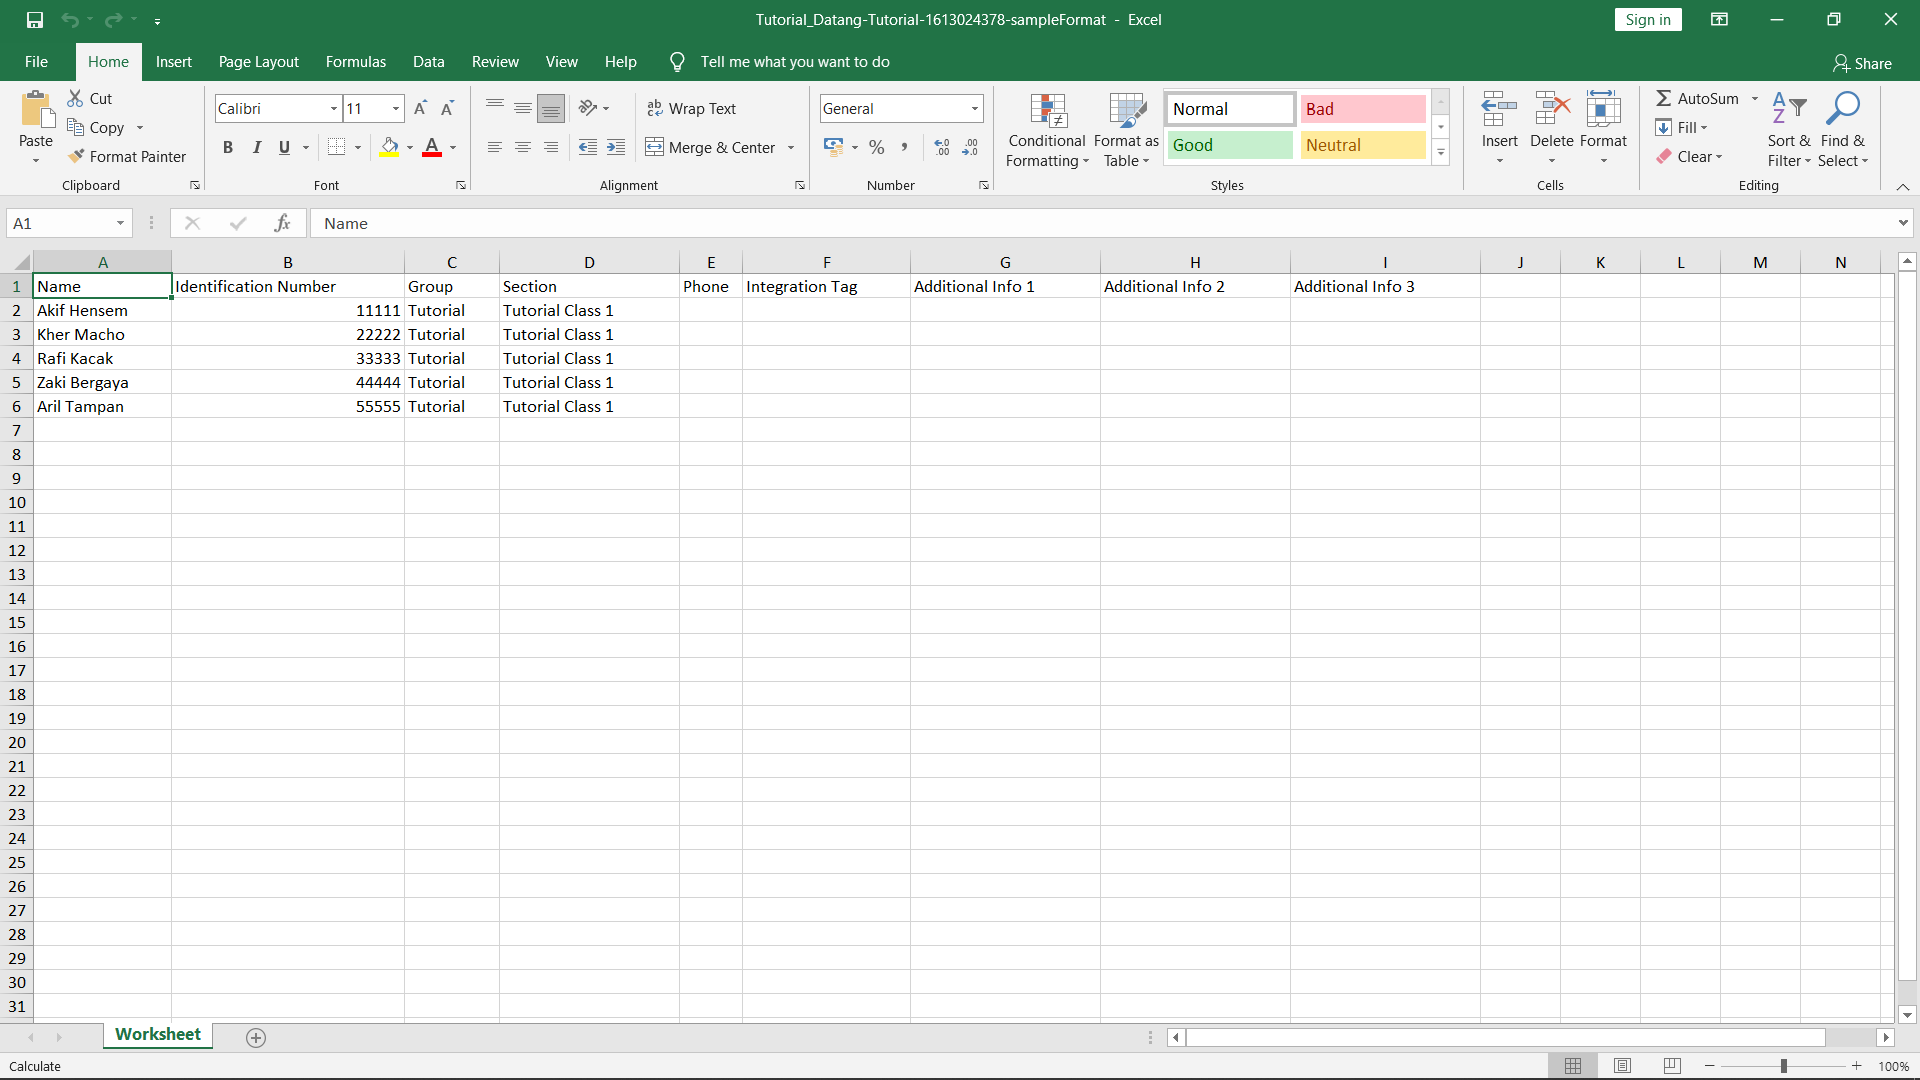
Open the sample Excel file that has been downloaded and edit and fill the details by following the format. Save the file after fill all the details.

Next, upload the file with attendees details that has been filled in Excel following the format by clicking the "Import Attendees / Upload Excel button". Select the file that has been saved with complete details of attendees.
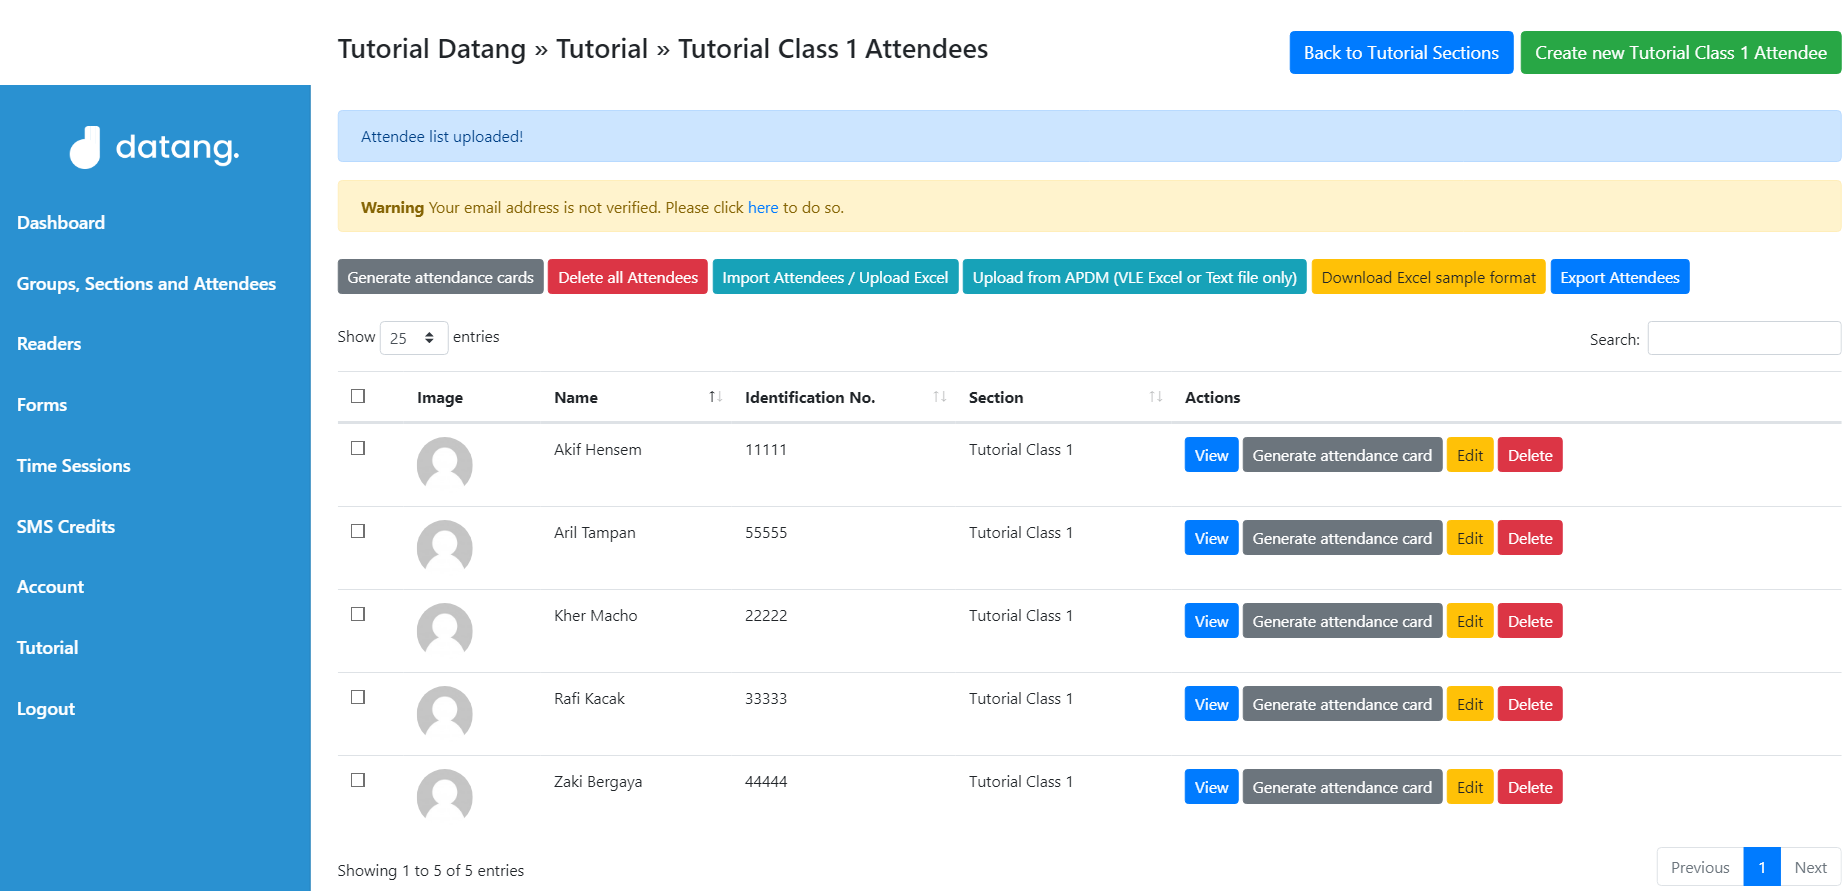
All of the attendee details that you have fill in the Excel and has been imported into the system will be shown on the Section. You can manage the attendee here.
Next, click the Generate attendance cards button to get all the attendee QR Code.
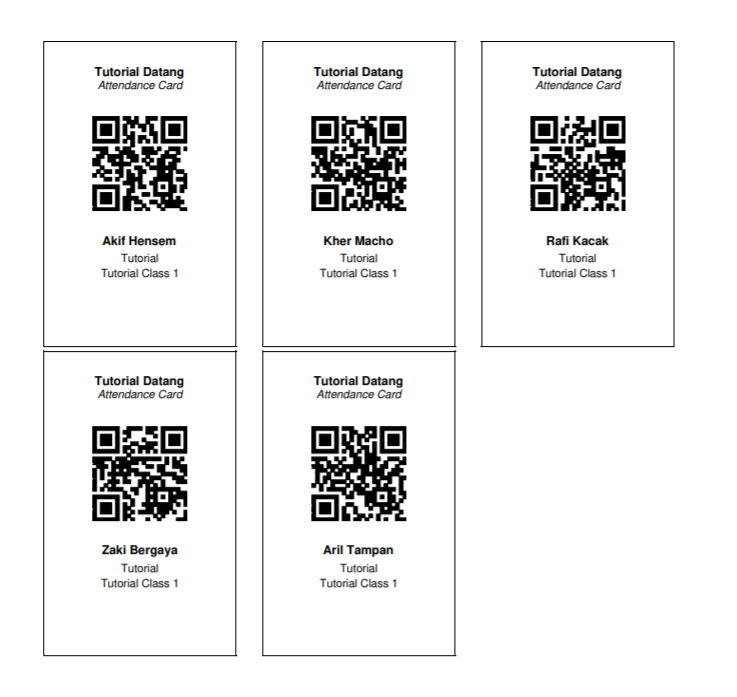
The generated QR Code is in PDF format, you can print the QR Code by click the Print Icon.
5.Creating Datang Reader Account
Next step is to create a Reader to scan the QR Code. To create a reader account, click on "Readers" button on your left screen to open Readers menu.
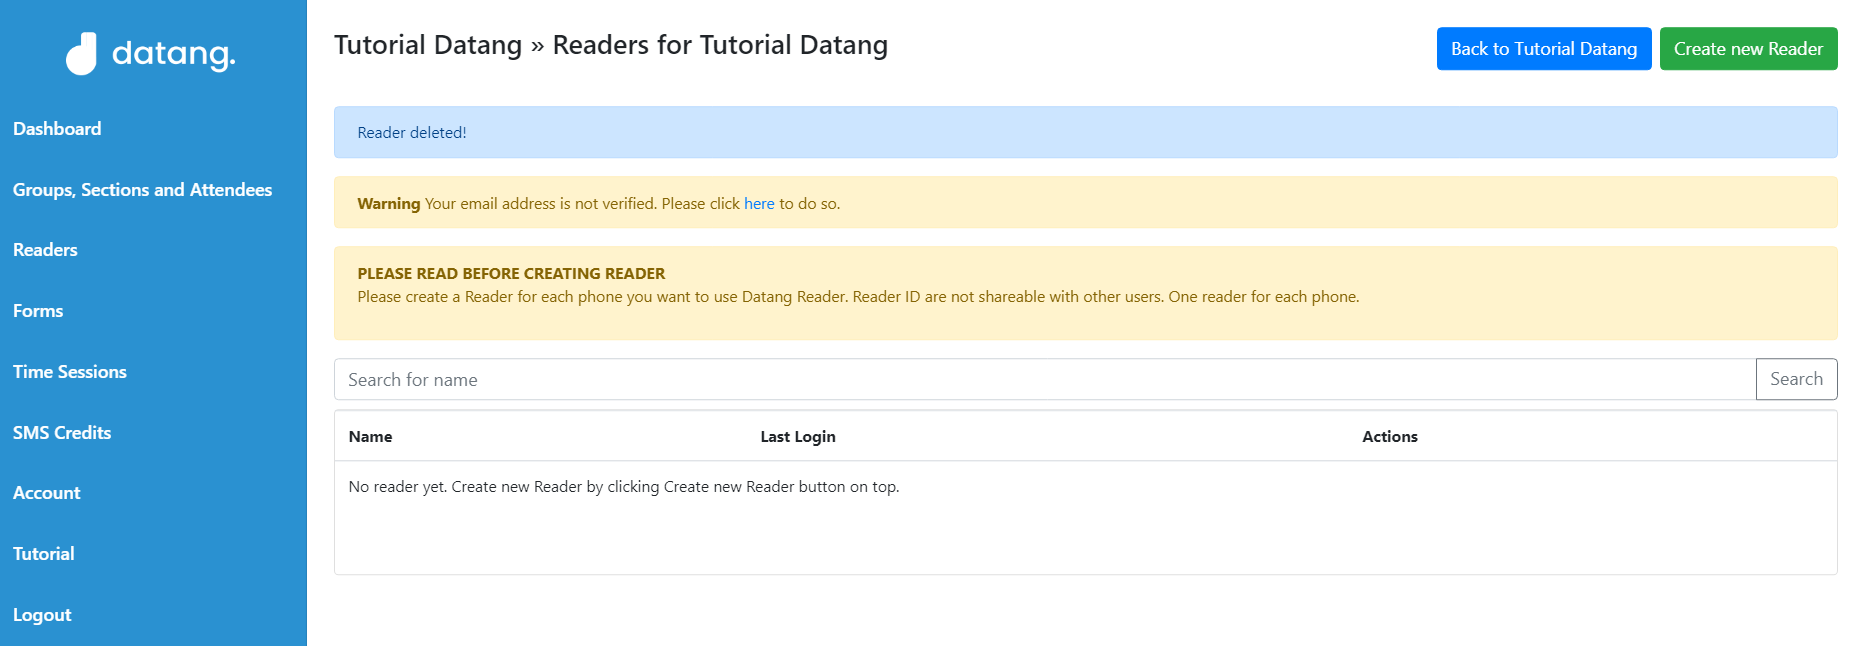
Click the green button on your top right screen to create new Reader.
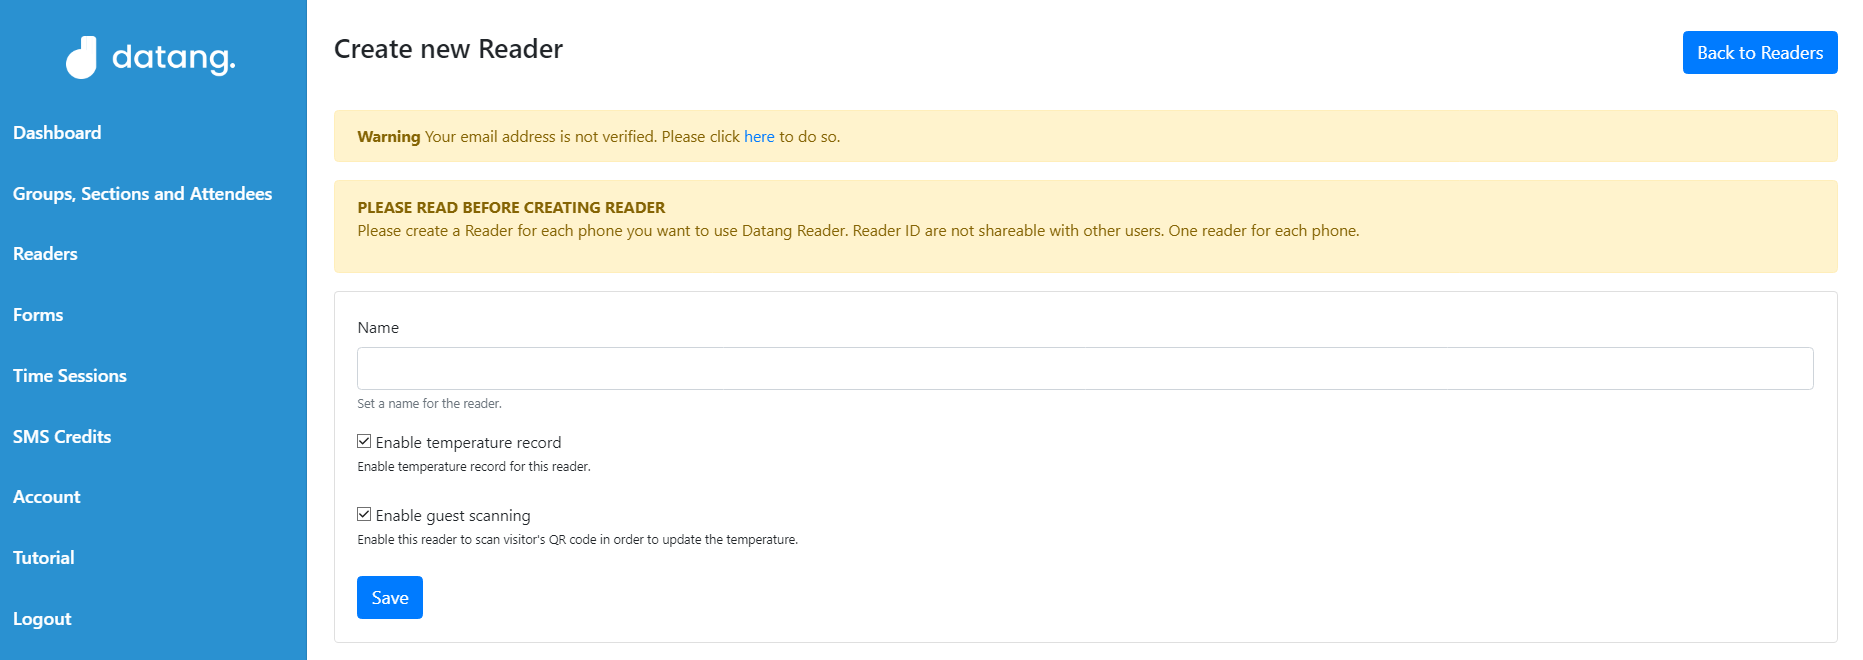
Fill out the name that will be used for your Reader.
Remember that you need to create Reader account to be able to use datang.my reader application.
Each account can only be login by one person per phone.
Click the Save button to create a new Reader.
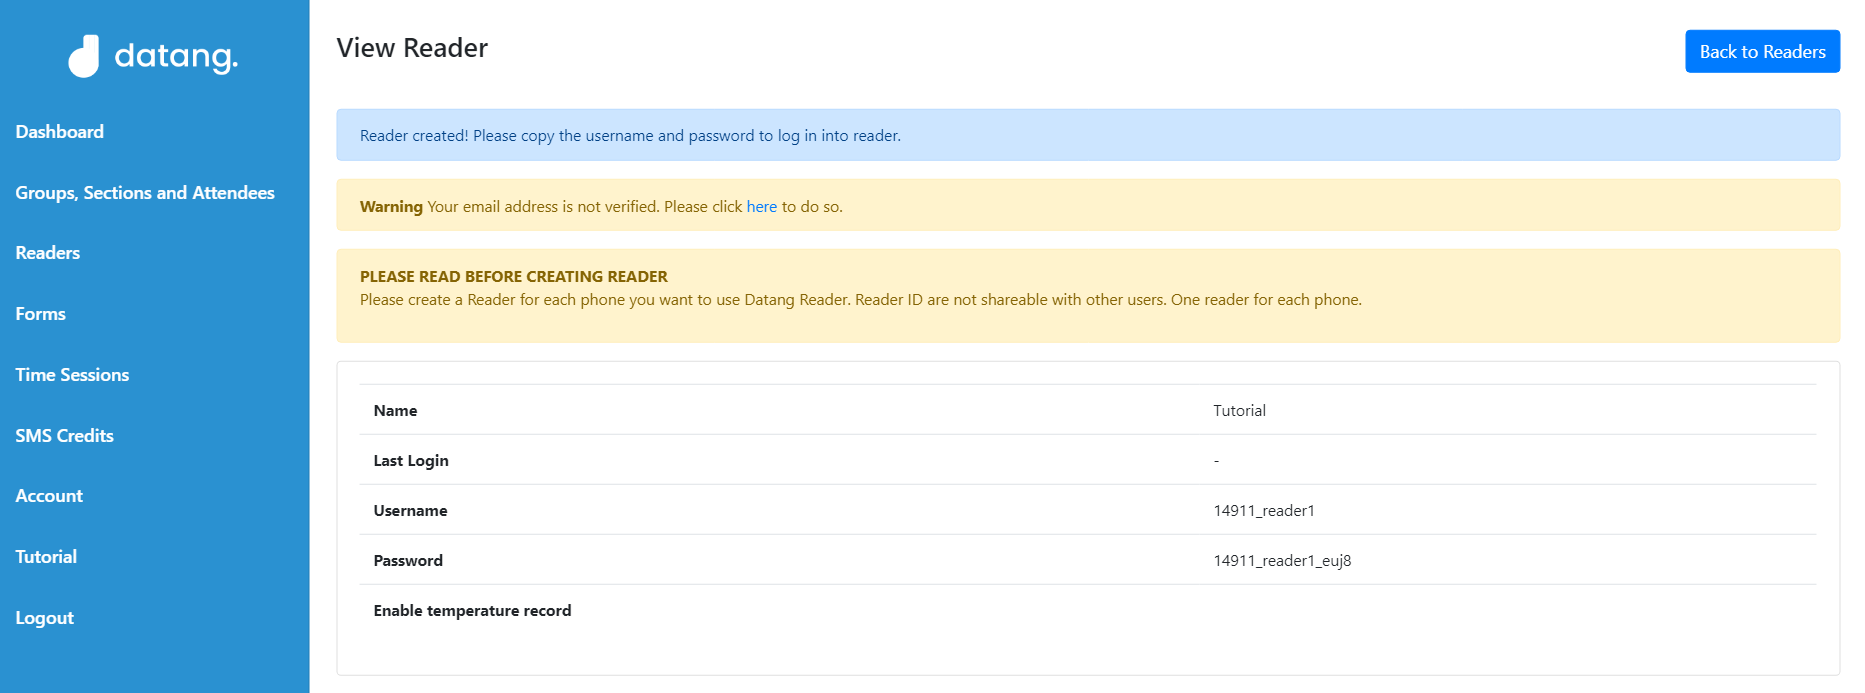
Now your Reader is created, you can now log in to your Reader via Datang Reader application on your smartphone. You can find Datang Reader application on all platform such as AppStore, Google Play, Huawei AppGallery, and Etc.
That's it! You're all set up and ready to go.